

Walls: Part One
In this first series of blog posts I will cover one of the main structural and architectural elements in home building and renovations - the wall.
Anyone who has ever personally undertaken a home renovation has likely discovered that walls are busy things. They don’t simply divide larger spaces into dedicated rooms [although that is one of their primary uses], they can also support loads above as in the case of the “load-bearing wall”.

In this example of a “load-bearing” wall you can see two TJI floor joists sharing the top plates of the wall, directly above a stud. Although with doubled up top plates “stacking” the framing is not technically necessary, its good practice as it creates the best space for other trades to follow to run their systems through the walls and between floors.
The cavities in walls also serve as a chase for HVAC, plumbing and electrical systems. Cavities in exterior walls of any modern home will have insulation to slow heat-loss from the cold Canadian winters, or heat-gain from our surprisingly hot Canadian summers. It’s not uncommon to find insulation in interior walls meant to suppress noise or to slow the spread of fire as a safety precaution.
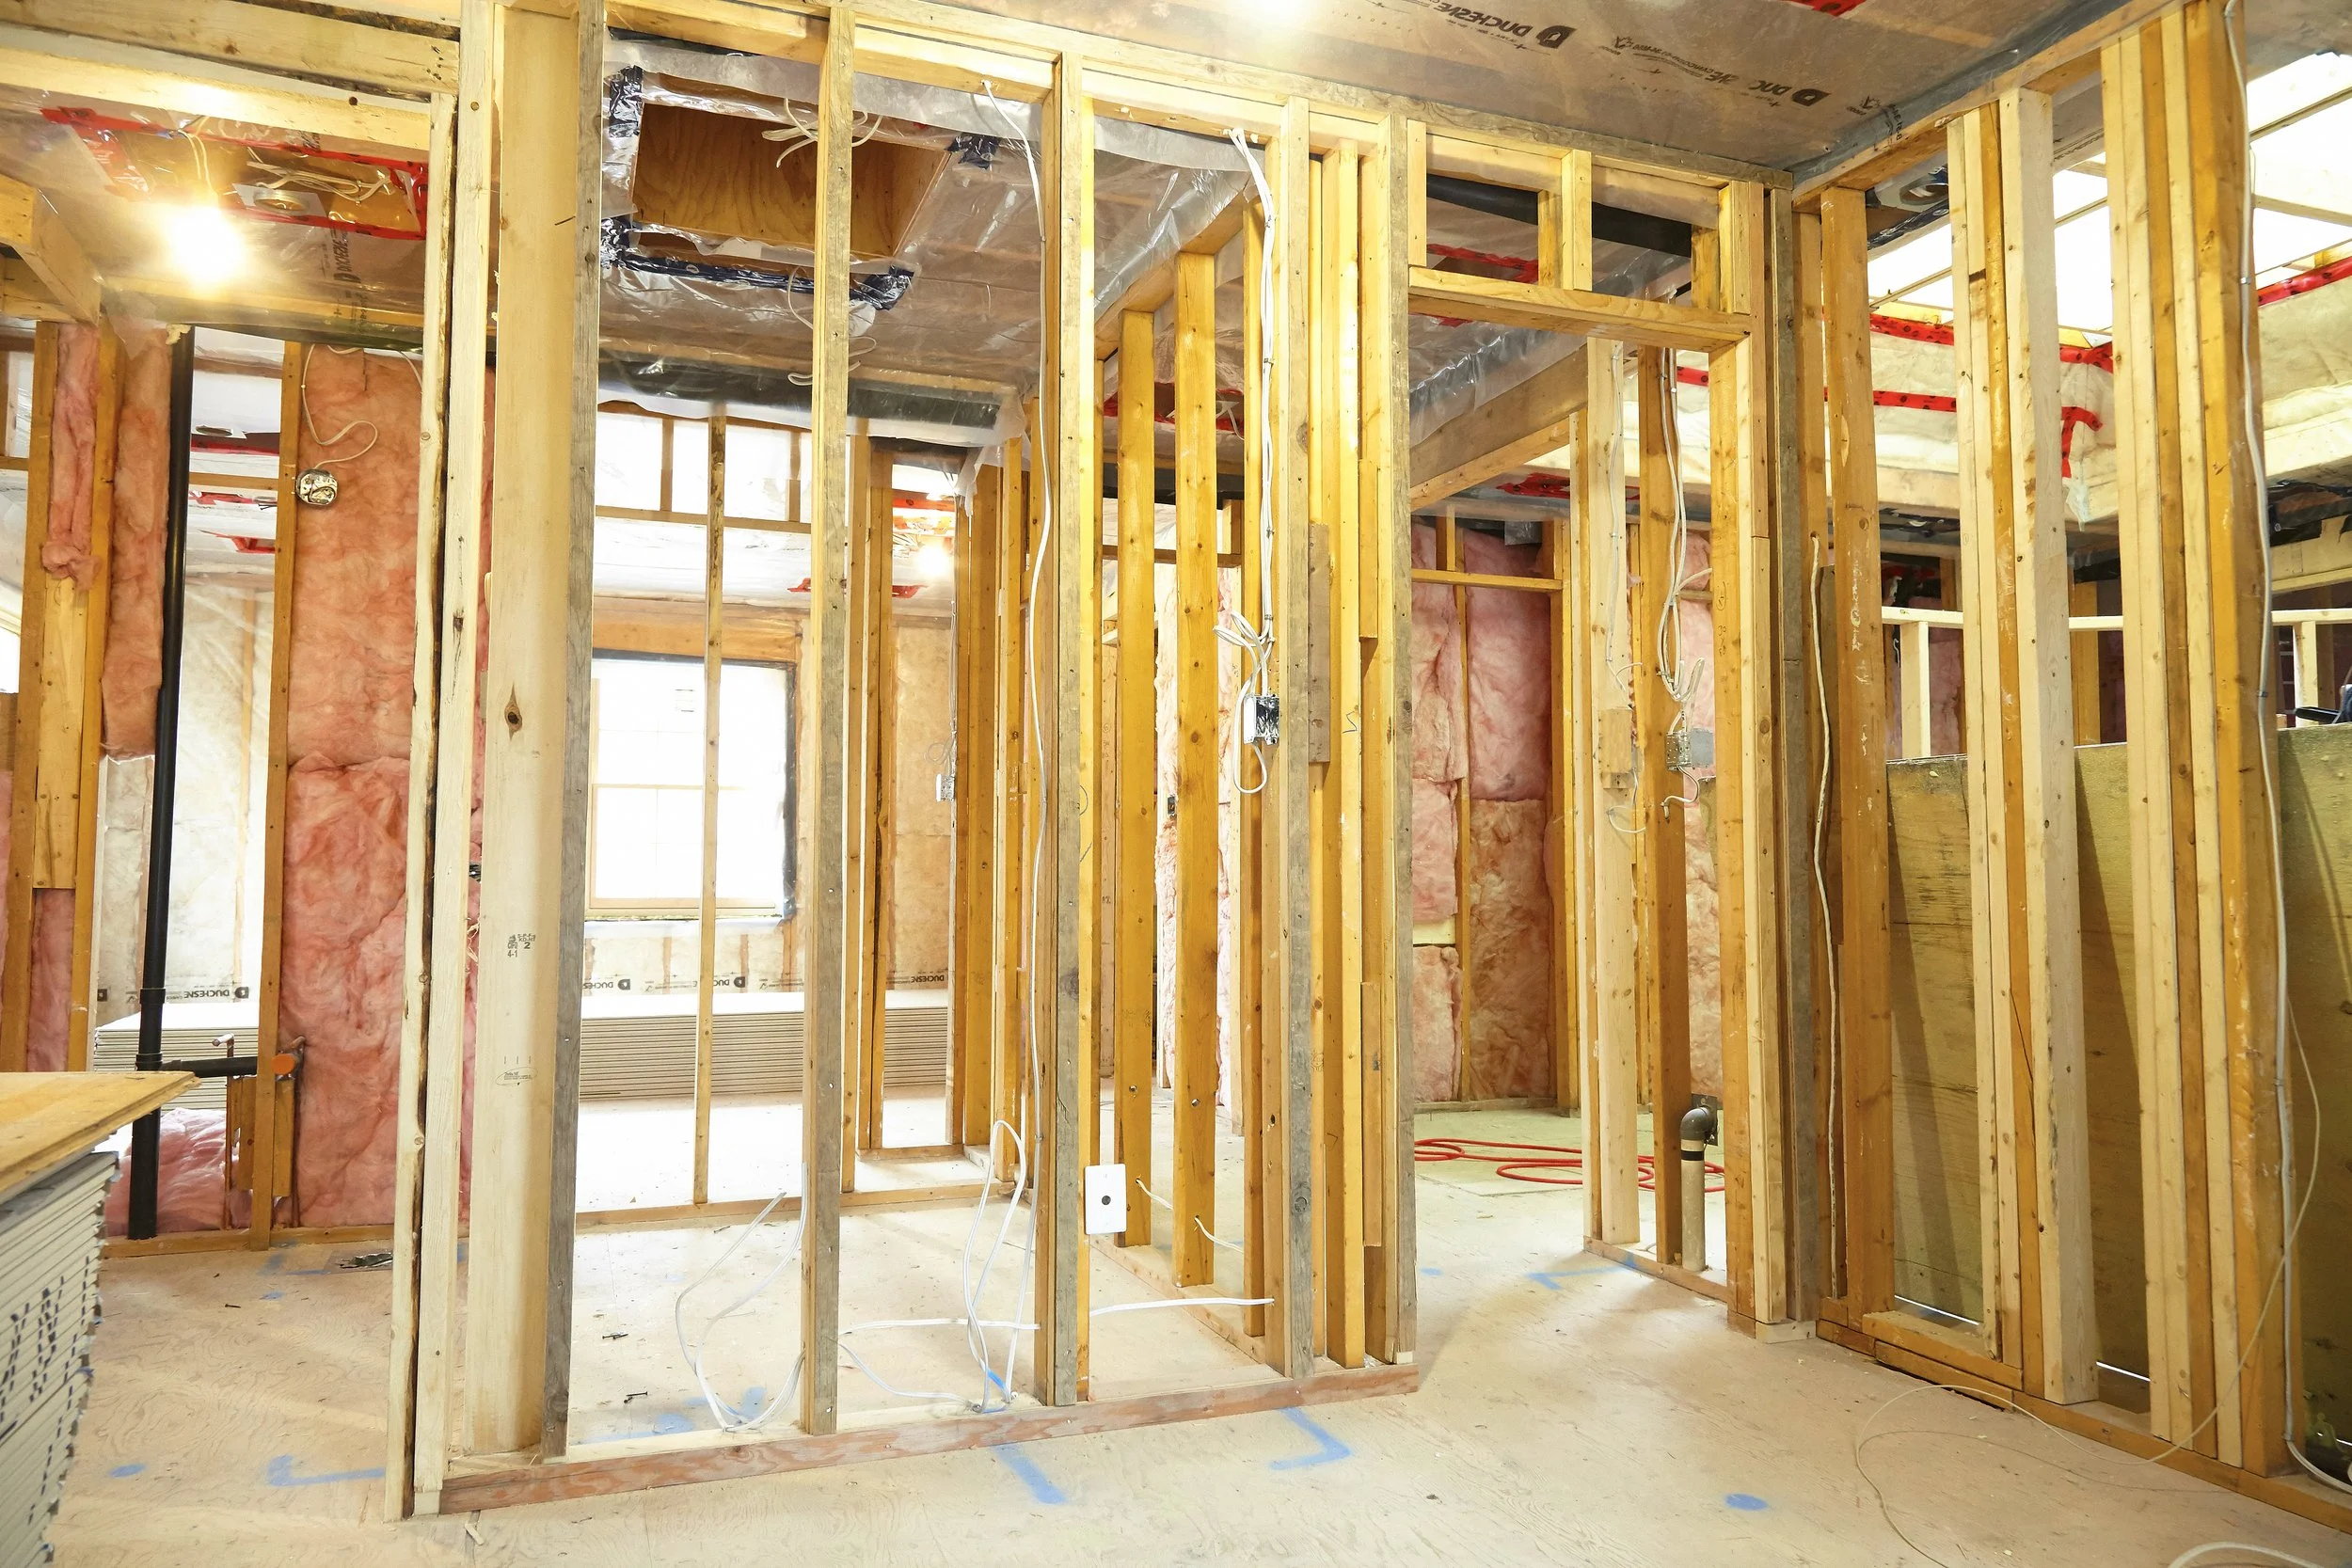
This is a great example of wall framing especially in the context of a renovation project. We can see clearly where the new framing has had to integrate into the old, and how in some cases modifications to the existing conditions allow us to satisfy certain architectural or design intentions.
The typical wall is made up of different members, and its helpful when communicating with your contractors to know some of the language. First are “plates” they are the bottom and top members, that if you saw in “plan view” or a “birds-eye view” you would see shaping the perimeter of your rooms. Typically there is one bottom plate, two top plates and vertical “studs” running between them spaced consistently, typical residential spacing will be 16” for standard height applications. But there are special applications where an engineer may specify tighter spacing, I have seen 24”, 16”, 12” and 8” and sometimes those specifications may even call for “doubled studs” The wall schedule on your architectural drawings will call out the wall details.
Wall plates are nailed down to the floor usually shot to a fine chalk line marking the walls intended location. Nailing the plate consistently and accurately to the line keep helps keep the wall straight Top plates are likewise braced and checked for straight. Accuracy [or a lack thereof] at this phase translates through to finish, as drywall and trims will all follow the wall. The finish is only as good as the frame.
Pictured above you can see some existing walls were furred out to add thickness which may be necessary for future HVAC or plumbing, or just in consideration of design and aesthetics.
To the right, you can also see “built-up” posts which are likely supporting a “point load” [the spot where a heavy weight from a beam, or another post is located]. “Point-loads” are transferred directly down to footing via built-up posts, beams and solid blocking in the floor system.
In future posts we will continue to dive deeper into the world of wall framing. We will cover basics such as crowning studs, nail patterns and headers/lintels, bracing and more. Stay tuned, please come back and if you would like to inquire about retaining our services as residential framers or for any of your carpentry or general contracting needs in and around the Halton Region, find the contact link and reach out. We would love to hear from you.